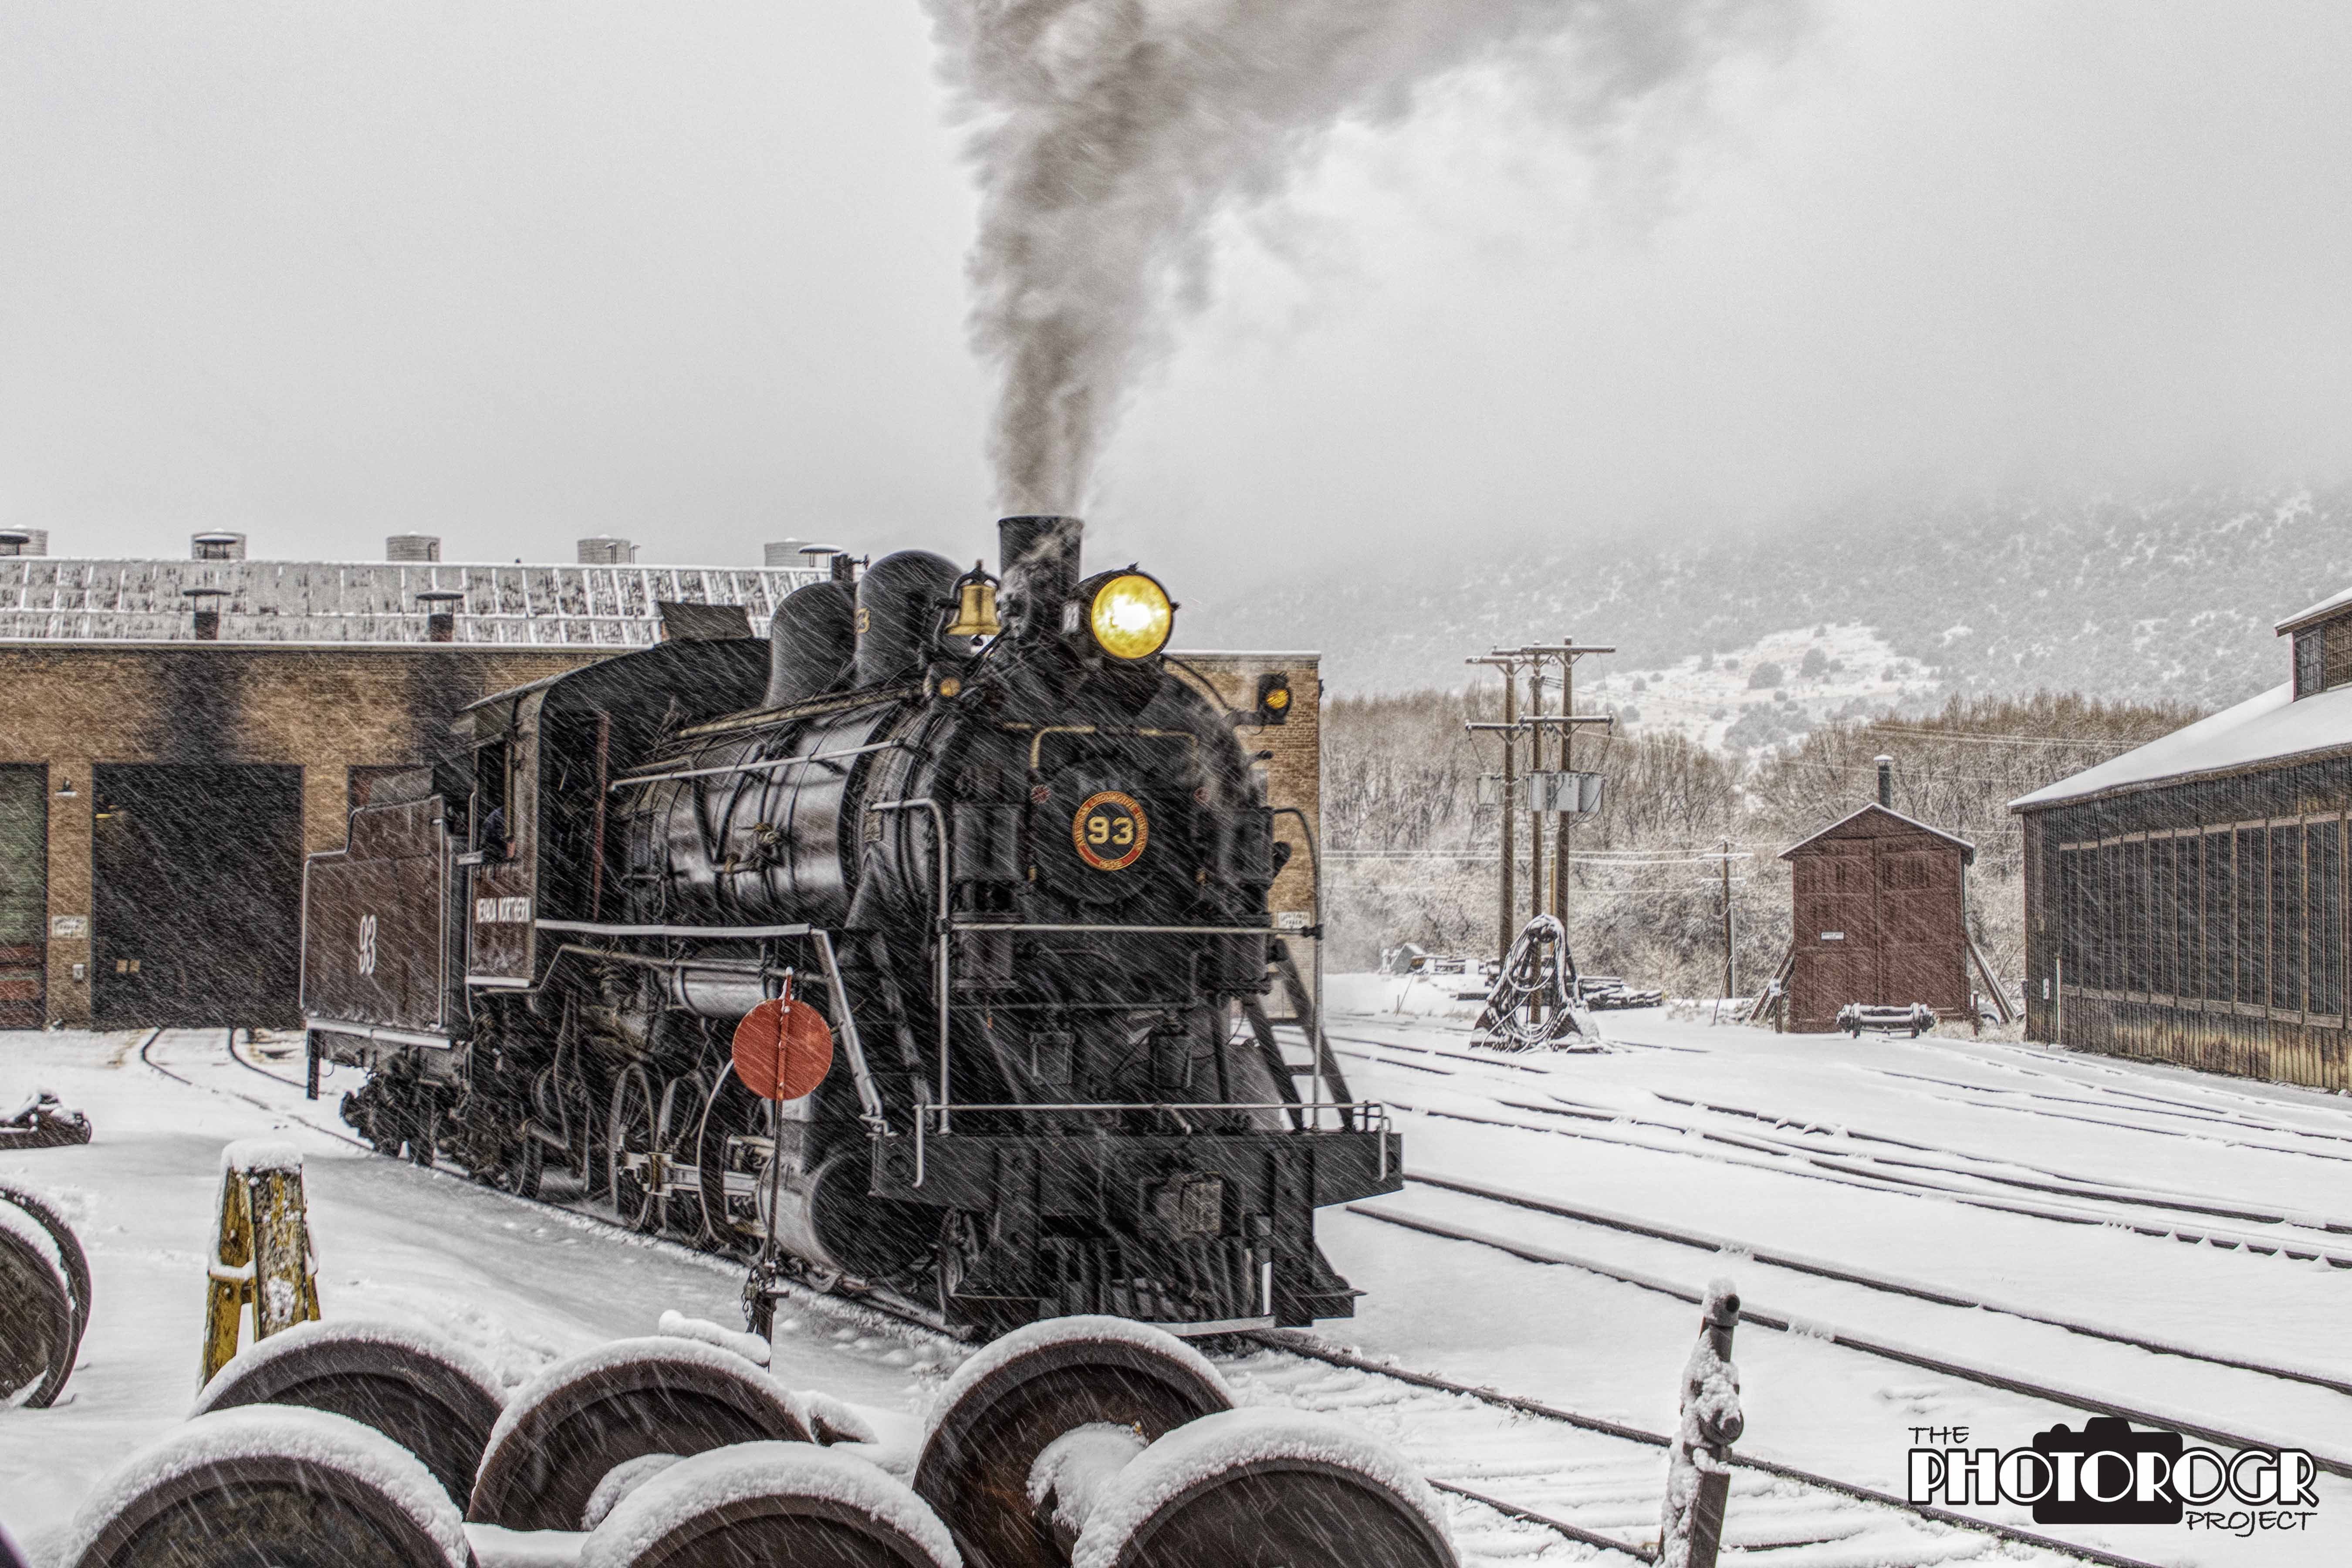
I knew it was going to be an interesting day of photography when I looked out the hotel room window at the driving snow storm outside. There are numerous books on taking pictures in extreme weather, and I felt prepared. The camera batteries were fully charged. I had the weather covers all ready. (I did ask the nice folks at the front desk for a couple of the hotel shower caps – they came in very handy for covering the second camera body I was carrying. It’s a great tip for those times you don’t have a rain cover in your kit!) I put on my long underwear, insulated boots, photo gloves (so I can use fingertips without freezing my entire hand), and numerous layers, and headed out.
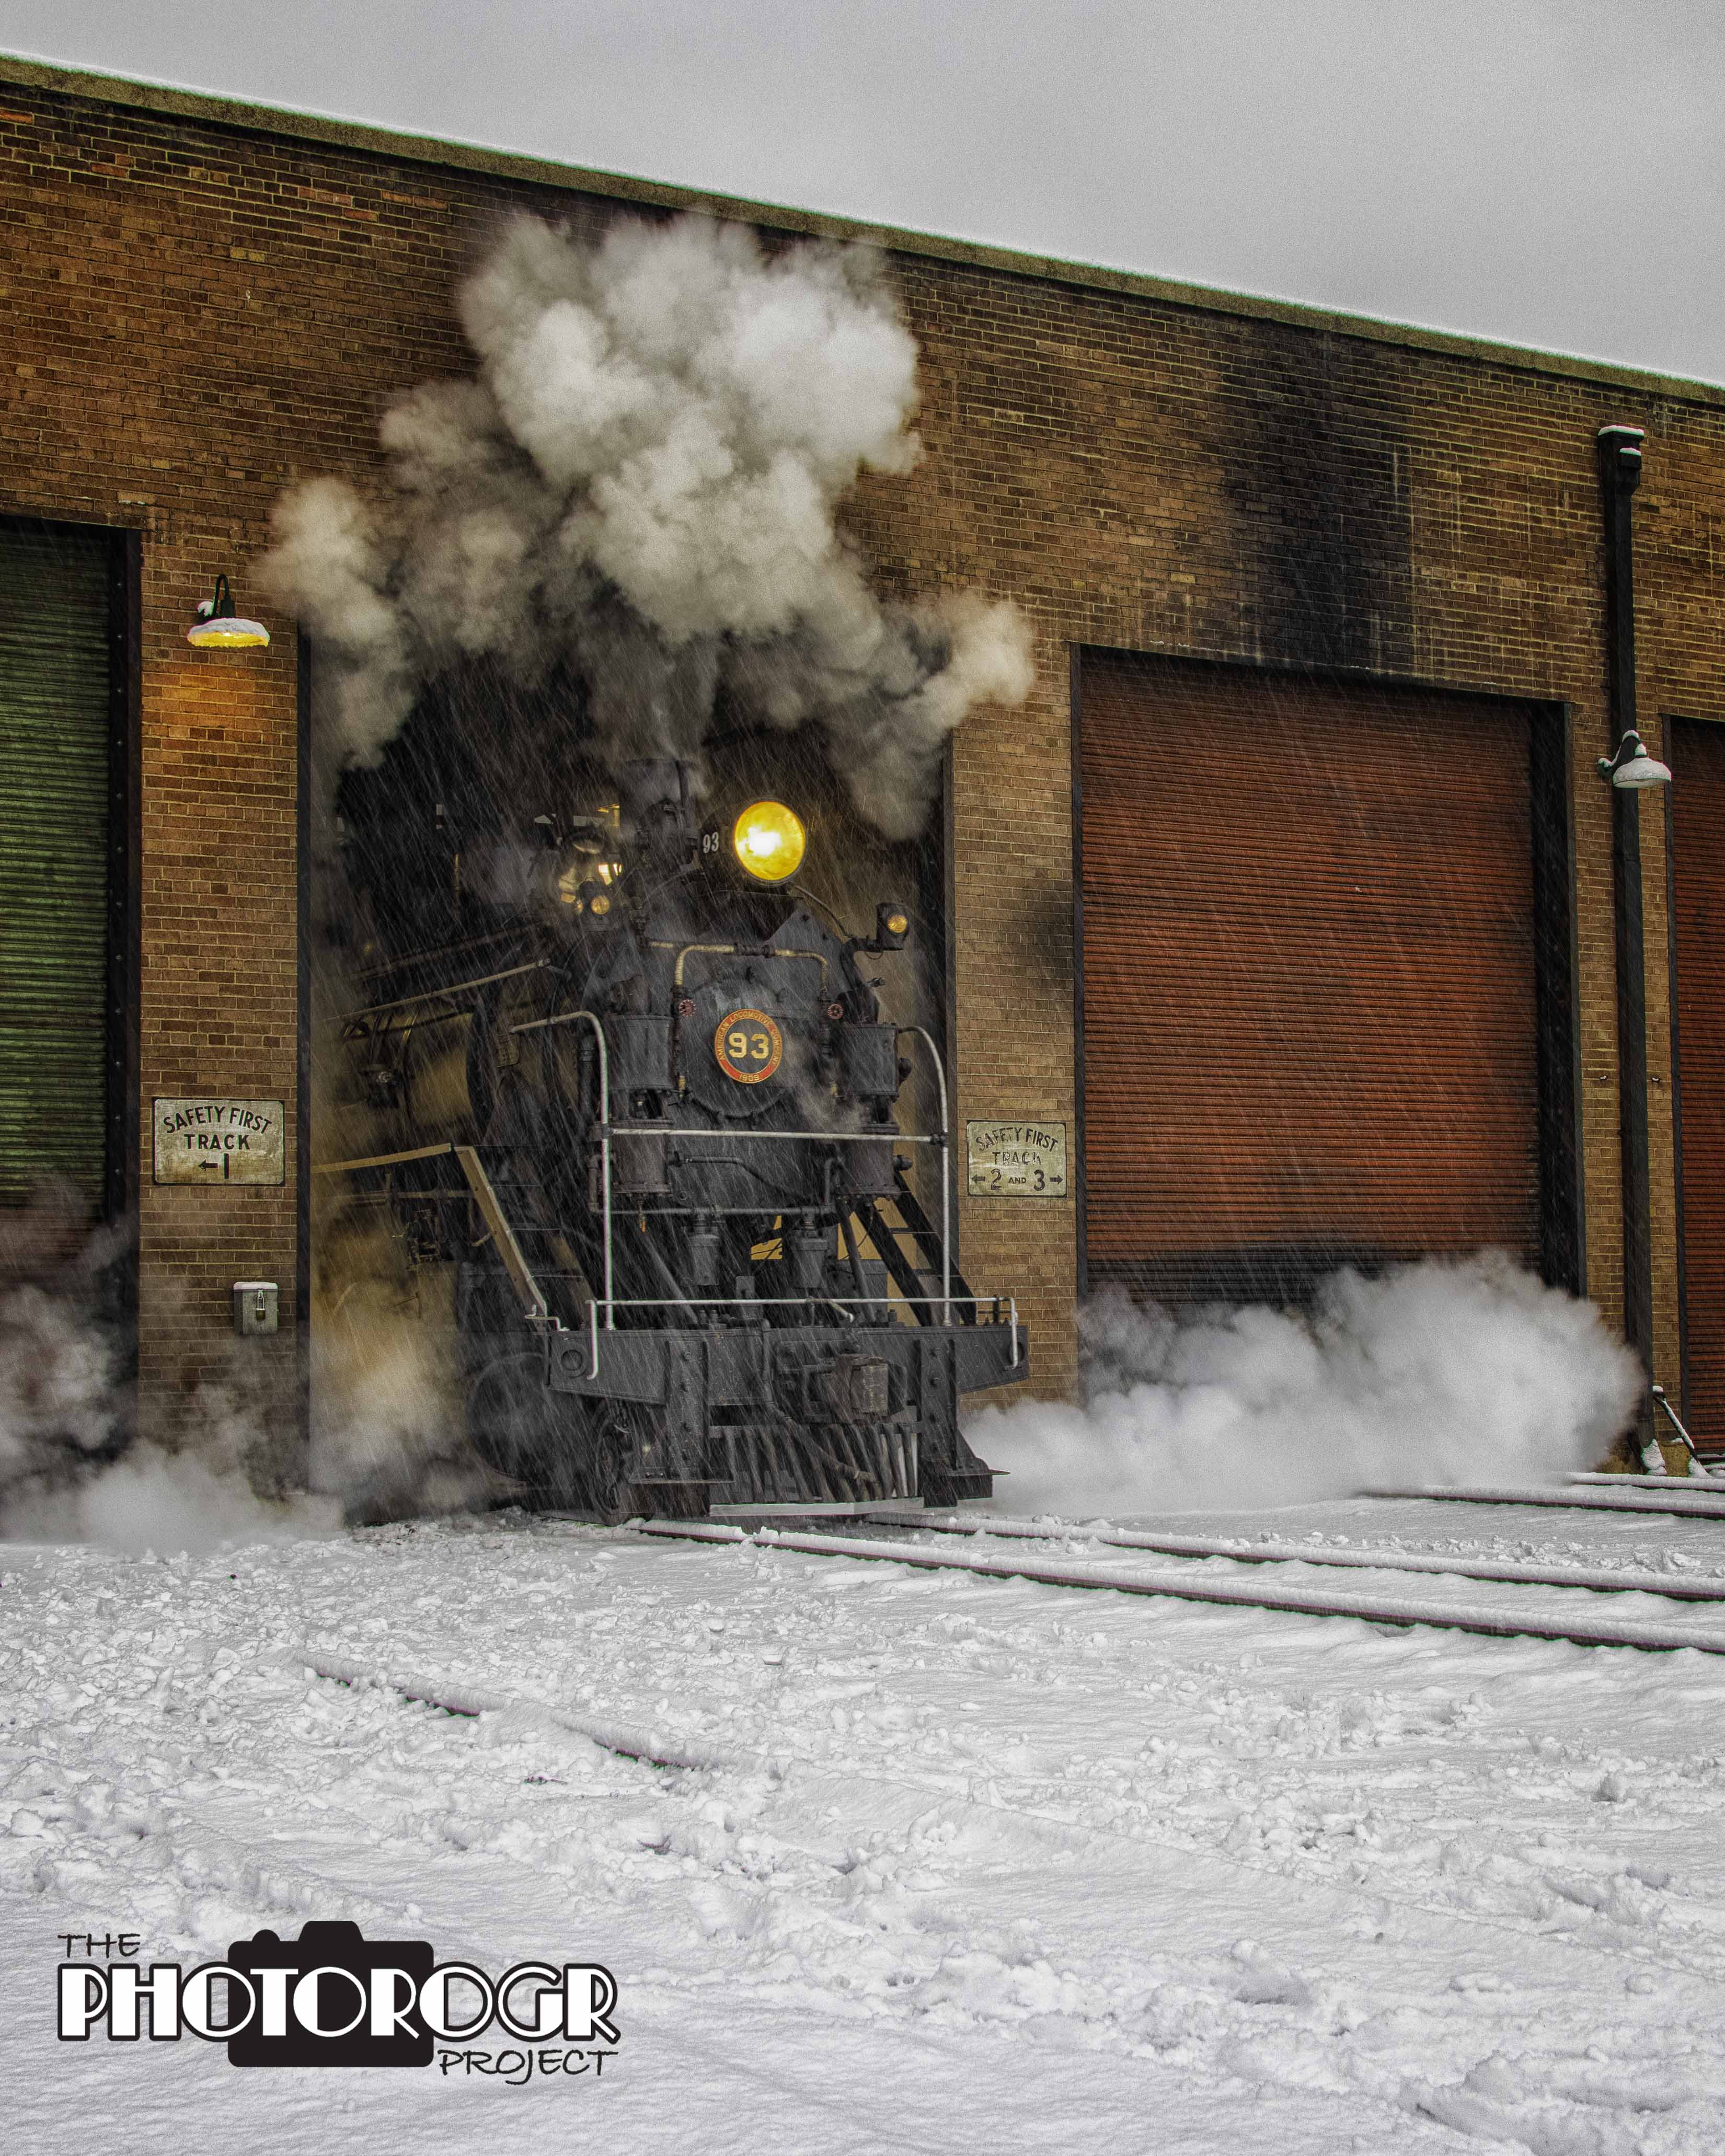
Our first shoot is always the locomotives exiting the Engine House. On sunny days, this side of the building is in full early morning sun and the light is fantastic. This year, not so much. Still good light, but not the great direct sunlight.


I had just read Jason Bradley’s article, Winter Exposures, in the December 2020 issue of Outdoor Photographer magazine. In the article, author Bradley discusses the challenges of winter exposures: extreme contrast and highlights “off the charts.” He discusses the challenges of film versus digital regarding winter exposures. Basically, with film one must “get it right the first time.” With digital, “…our goal is to maximize the amount of collectible RAW data without blowing out highlights in critical areas of our composition.”
Then he gets into a lengthy discussion about ETTR, or Expose to the Right. Using this technique, the photographer will push the histogram as far to the right as possible without clipping. To explain, I defer to National Geographic’s Complete Photography.
“A histogram displays all of the brightness levels of the image, from dark to light, left to right. If high peaks slam up against the left or right sides of the graph, the image is “clipped” – it may contain areas of pure black or pure white, meaning no detail was recorded. A well exposed image will have detail throughout the entire range of darks, midtones, and bright areas.”
(Note: histograms are also used to show levels of RGB (red, green, and blue) color in an image file. Camera sensors record color as differing levels of RGB in individual pixels, but that’s another big topic altogether.)
Many cameras can be programmed to show clipped highlights using “blinkies.” Author Bradley says this, “The blinkies are terribly useful. While histograms can tell us if our highlights are going off the charts, the blinkies show us where in our composition that’s occurring.” Go to your camera’s playback menu to turn on or turn off blinkies.
Lots of things to think about while setting up for our shoot. But wait, there’s more! (…to quote a commercial…) For static subjects (like landscapes), a photographer can account for bright highlights and dark shadows using exposure bracketing (shooting the same composition using different exposures) and blend those exposures using HDR (high dynamic range) techniques. (I’ve discussed HDR in other blogs, so I won’t get into them here.) What about white balance? The built in meter will be going wild because of the snow.
So, the stage is set, except for the most important thing – I’m shooting a MOVING, BLACK locomotive in BLOWING SNOW. Exposure bracketing is not an option because the locomotive is moving. If I want a nice middle of the histogram exposure, I lose detail in the locomotive. Well, I decided the locomotive was the most important so I exposed for it and didn’t worry about the snow. By overexposing one stop, I could account for some of the white balance and keep some detail in the black locomotive. Now, did I do it for every shot? No! But these were the things on my mind as I approached shooting during the day.


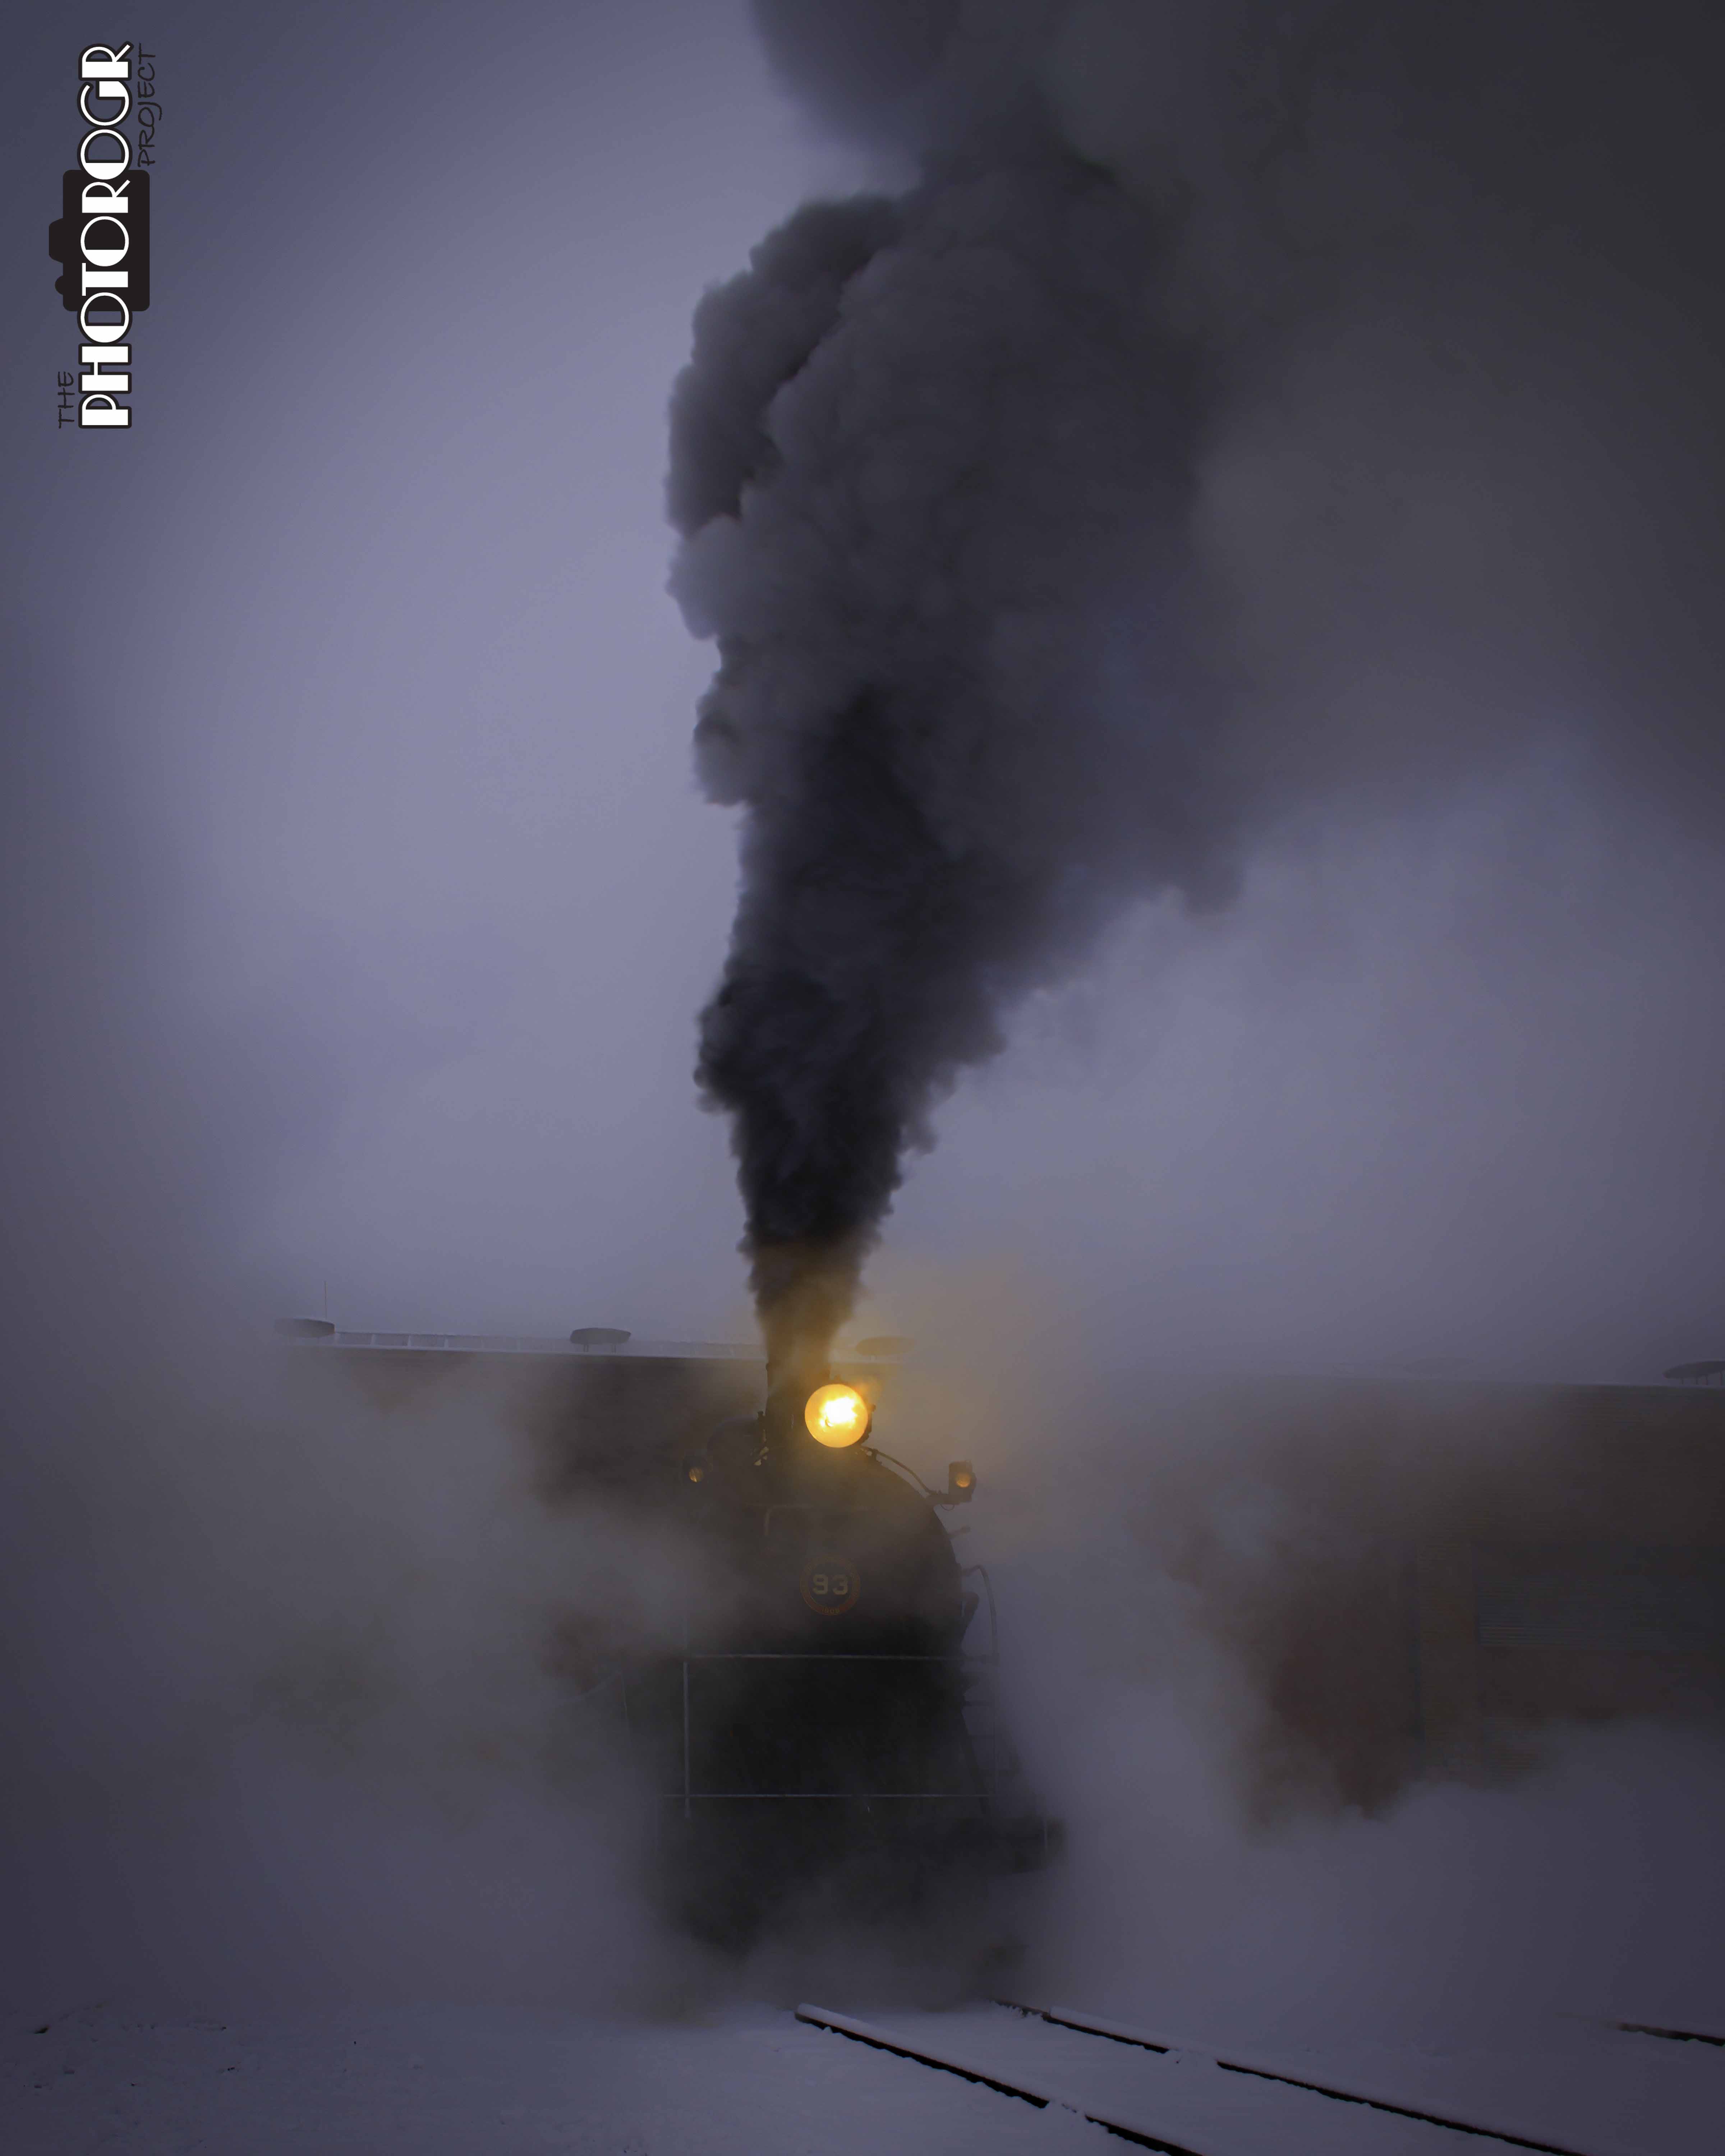
That’s my discussion on shooting in the snow. Lots of challenges, but the results speak for themselves. In my next blog, we’ll get out of the snow for some indoor shooting. Enjoy – PHOTOROGR
