My apologies for taking so long to post a new blog, but when one is having as much fun as I am, one loses track of time! I’ve spent a lot of time along the East and West Forks of the Carson River in the last couple weeks, followed by a lot of time on the computer. The learning curve has been steep, but the results have been extremely rewarding. I am truly having fun again. My focus (pun intended) has been to make images of flowing water, specifically tack sharp images with silky smooth water.
For background, let’s talk about exposure for a couple paragraphs. In The Complete Guide to Nature Photography, Sean Arbabi begins his chapter on exposure this way, “The primary function of a camera is to collect and record light. Exposure, in photographic terms, is recognized as the total amount of light permitted to enter a camera and received by the image sensor (or film plane) through the course of capturing an image.” Most of us don’t worry about exposure. Our mobile phones/cameras don’t allow us to control exposure settings, and the ‘Auto’ function in cameras is adequate for most of the pictures we take. I worry about exposure in every image I make, and much of my journey is learning how to achieve good exposure given the different light situations under which I shoot.
So, how do we control the amount of light permitted to enter a camera? There are two ways: aperture and shutter speed. Aperture is the opening created by the lens to allow light into the camera, and the size of the opening is measured in ‘stops’. A smaller aperture refers to a larger opening – I’m not going to explain why, but there is a real reason out there. Shutter speed is the time the shutter is open, and is measured in seconds. When combined with ISO (the sensitivity of a digital sensor or film), aperture and shutter speed determine the exposure. But enough technical stuff – let’s talk about my time on the Carson River!
The keys to creating beautiful flowing water pictures are: long shutter speeds (to the camera, even 1/6 of a second can be a long time) for the silky water; a stable camera position for sharp images; and good depth of field (how much of the picture is in focus). I use a sturdy tripod to hold everything in place (handheld just won’t do!) and a remote shutter release to minimize camera shake. I also use a function called ‘Live View’ which allows me to use the LED screen on the back of the camera to compose the image and check exposure, and also reduces camera shake because the mirror is already up. Live view is a killer for battery life, so it must be used judiciously! To control the light entering the camera and maintain flexibility with depth of field, I use Neutral Density (ND) filters. ND filters are dark, like sunglasses, and are rated by how many stops of light they reduce (like the size of the aperture). For the following images, I use multiple ND filters totaling 7 stops of light to get the long shutter speeds.
In addition to learning photography, I’m also learning Photoshop software to process the RAW images (see my blog All RAW – All the Time, June 8, 2015), and wanted to explore exposure bracketing (making multiple copies of the same image at different exposures) to try new processes in Photoshop. To make things easy for all of us, I’ll briefly discuss editing techniques with each picture. WF = West Fork Carson River; EF = East Fork Carson River.

EF: when I first looked at this image, I thought it was going to be a great texture and not much else. I may still use it for a texture sometime but, after a little editing, I determined that it’s a pretty good image after all. This doesn’t show the silky smooth water that many of the other images do, but I still like it.

WF: I stacked three exposures and used layer masks to bring out the detail in the dark foreground while maintaining the nice exposure in the bright background. I love this water.

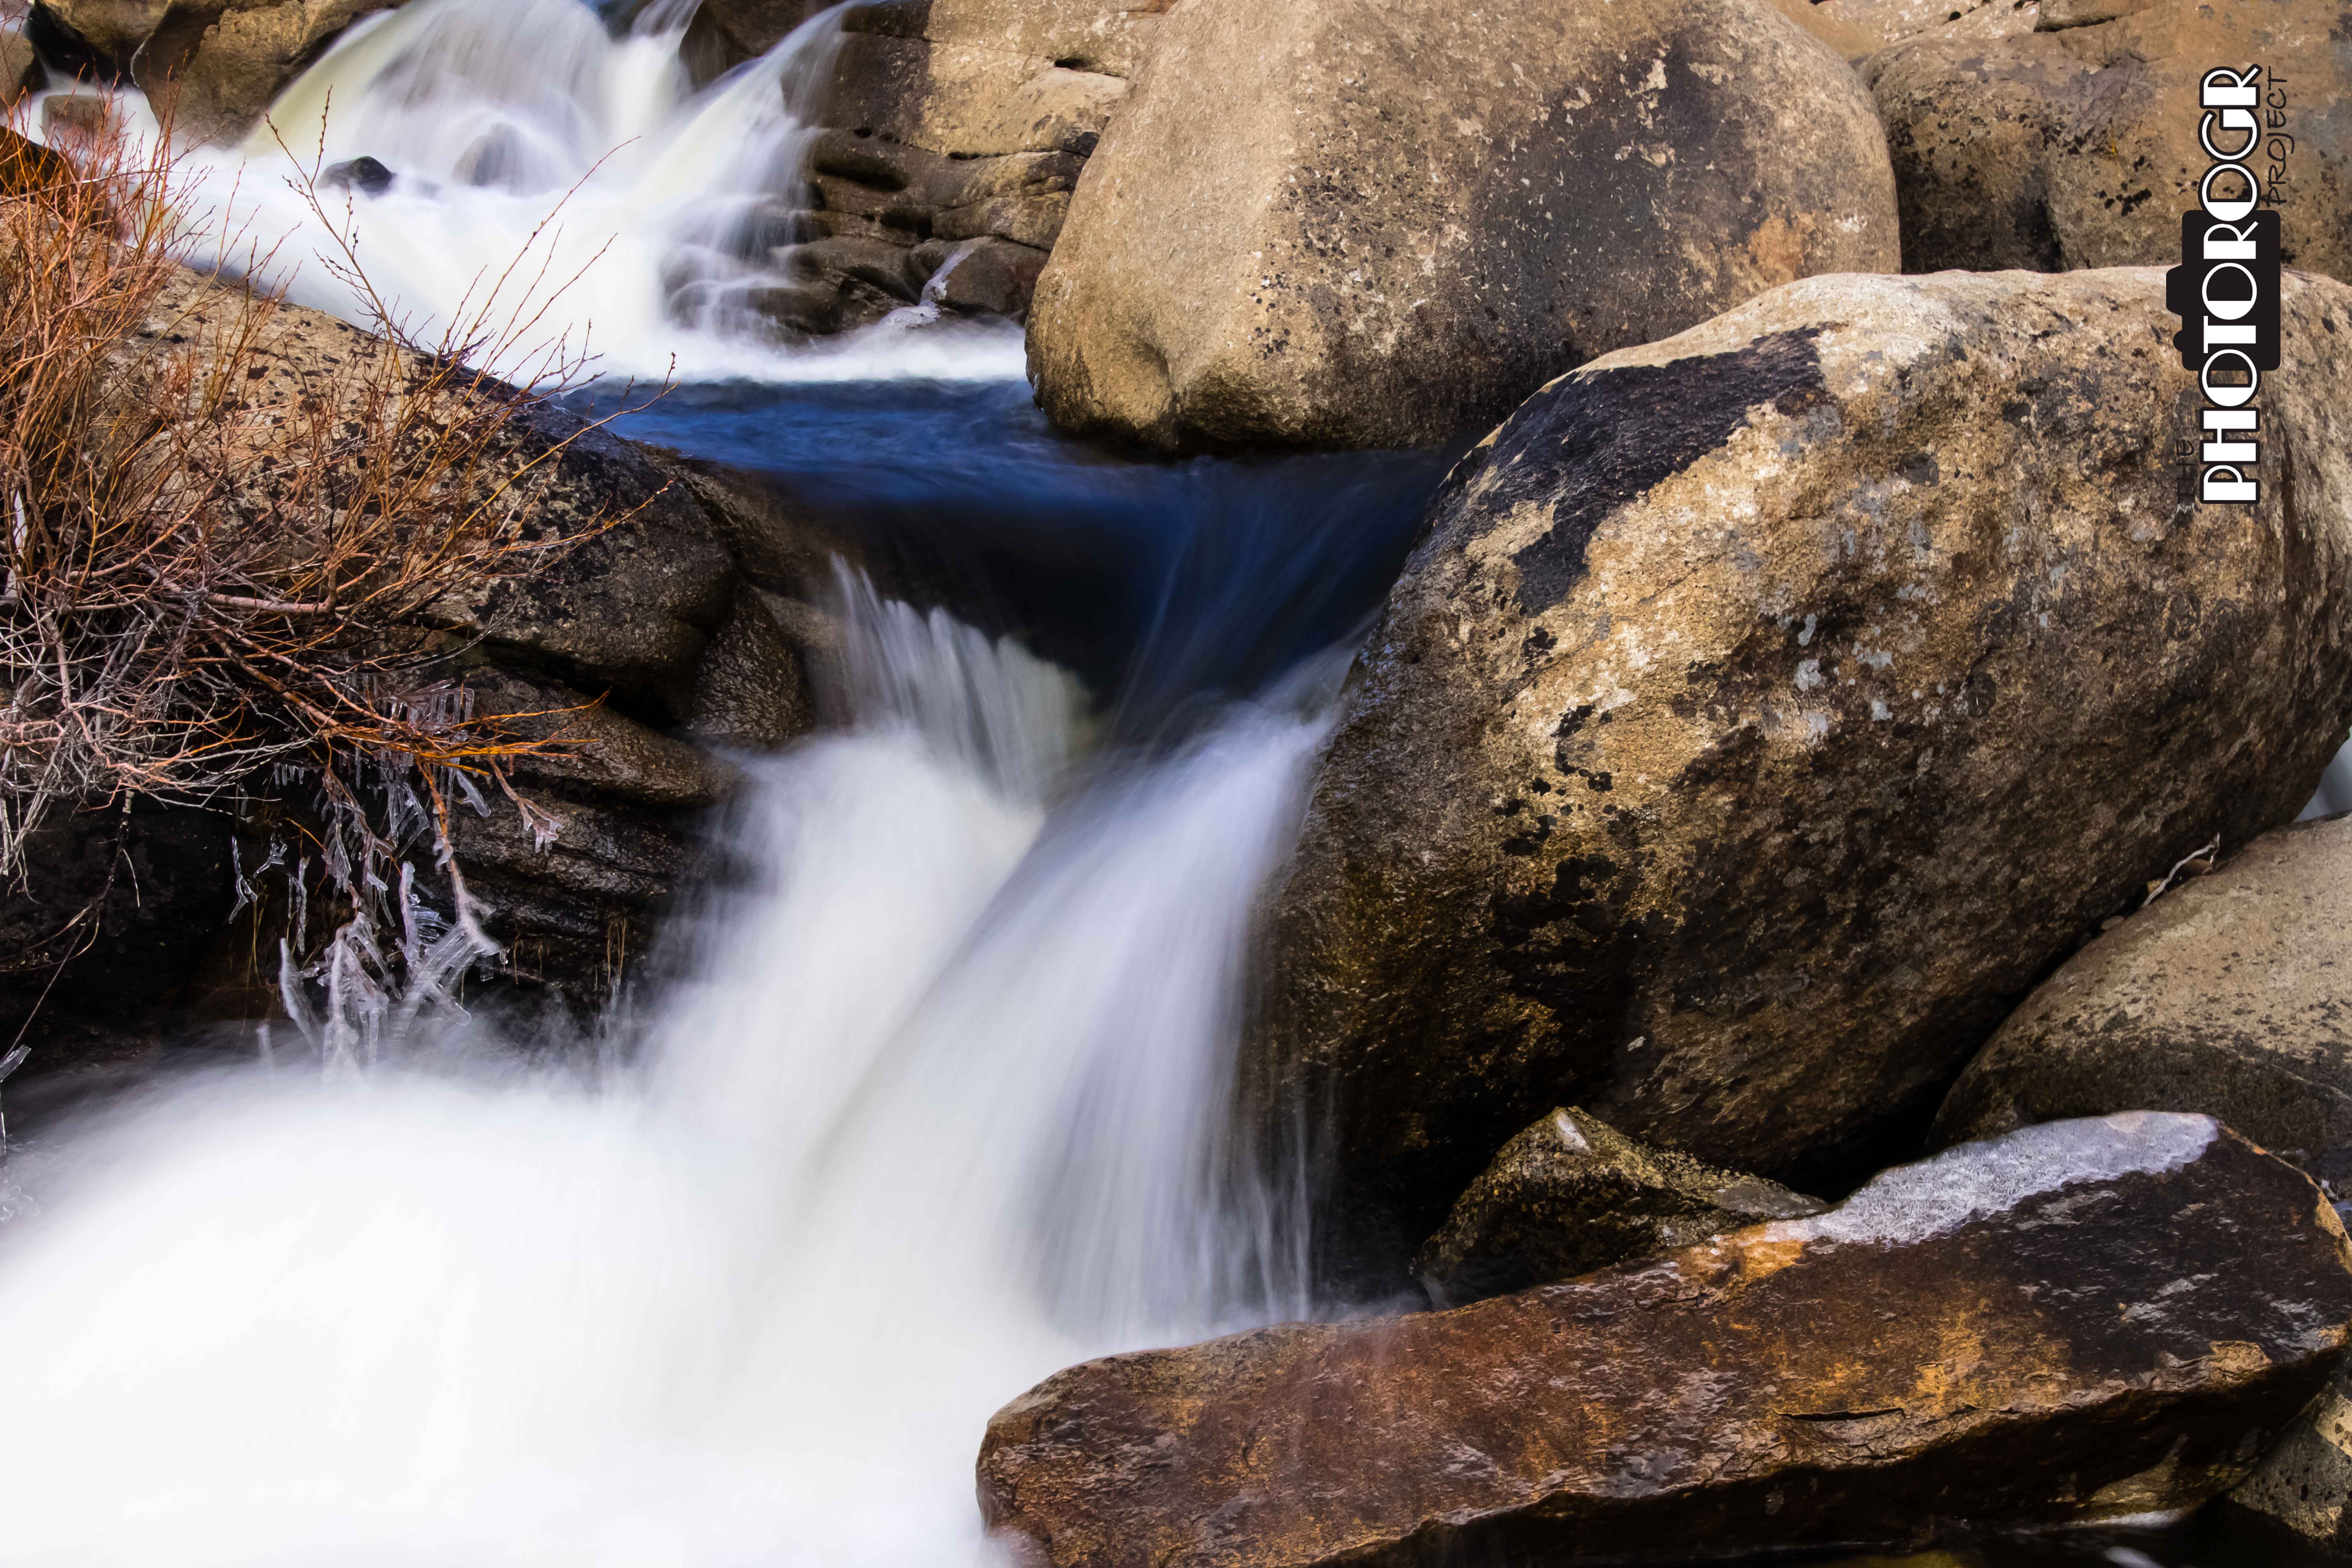
WF: also three exposures and layer masks, but this is my first successful use of the Burn tool, which allowed me to darken specific areas of the image.

WF: more layer masks, three exposures.

WF: one exposure, standard editing.

WF: one exposure, standard editing.

WF: for this image, I used a single exposure to create two images, one color and one black and white. I stacked the two images and used a Gaussian Blur on the color image. Then I used a Blend Mode to combine the two images and used standard editing techniques. It’s still a little dark in a couple places, but I’ll figure that out as I become more proficient in Photoshop.

WF: this image is a combination of three exposures using the High Dynamic Resolution (HDR) software in Adobe Camera Raw. It’s the same view as the above image, just zoomed in closer in camera. I have a little more work to do, as I have a white spot to deal with (thanks for the critique Katie!).

WF: this is another single exposure edited as a color image and a black and white image, then layered. This editing process worked a little better here, but I still have some dark spots to correct.

EF: This is a single exposure with standard editing. I have a little vignetting in the upper right corner, a byproduct of my filter stack.
So, that’s it for this blog. As you can see, I am enjoying my current effort and am hiving fun. I need more practice with creating bracketed exposures and much more practice with my editing. I just finished a book on landscape photography, so I can start my book on HDR. Who knows? I may have to get some new software to really get into HDR. My birthday is coming up – could be a great time for new software!
Thanks for reading my blog. Enjoy – PHOTOROGR